Good day everyone!
Have you ever wonder how to integrate a Yubikey with CloudZiti so you can have even more improved security?
I just got a new one and I needed to make it work with my platform, so I’ll share with you 2 options we have to make the Yubikey works with CloudZiti.
Before getting started let’s start with our ingredients:
- The Yubico Authenticator.
- The Yubikey Manager.
- The Yubico Priv Tool, you can also compile it yourself.
- The OpenSC binary to interact with the Yubikey at command line.
Option 1 - Integration with Yubico Authenticator.
This is the easiest path, as it basically requires to install the Authenticator. Yubico Authenticator is an application developed by Yubico that works in conjunction with YubiKey hardware devices to provide two-factor authentication (2FA) or multi-factor authentication (MFA), it enables users to generate Time-based One-Time Passwords (TOTP) or HMAC-based One-Time Passwords (HOTP) using their YubiKey as a secure storage for the secret keys.
In order to make it work with the CloudZiti/OpenZiti Client you just need to :
- Enable the MFA into your Identity, if you’re using the Windows ZTE.

- Click on Show Secret on the Show Secret Link

- After the code is displayed, copy it.

- Open The Yubico Authenticator and click on the Yubikey configuration icon.

- Click on Add Account.

- Fill with the information required. You can enable Require Touch if that’s your desire. After that, click on save.

- The new account should appear in your YubicoAuthenticator. Click on it (or directly copy the code).

- If you clicked in the new account, then a new panel appears, where you can copy the code using the icon.

- Paste that code into your CloudZiti Client windows and click on Authenticate.

- Save your recovery codes (as you normally do for any MFA account you’re using).

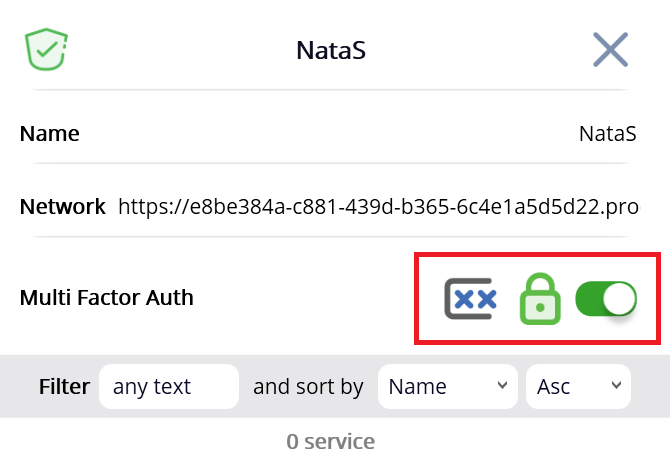
- The identity must be authenticated and MFA enabled.
Option 2 - Associate the Ziti Identity into the Yubikey directly.
While option 1, allows you being able to basically add as many identities as you need so before opening the connection you’ll require the Yubikey OTP, it also works when you turn the Cloud Ziti MFA Posture Check on.
However there may be times where you want to explicity associate an Identity with the Yubikey so you can also have an OTP, and adding extra layers of protection. If that’s the case, then Option 2, is your choice.
In order to associate our yubikey with a Ziti Identity, we’ll need not only previous ingredients, but also a new JWT, let’s see how that works:
- Login into your CloudZiti console, Click on Endpoints and Click on the “Plus” icon to create a new EndPoint.

- Add the details of your Endpoint that will be used to the Yubikey.

- Download the JWT and save it as we’ll need it for later.

With the identity created, we need to prepare our Yubikey for the Identity Enrollment. First and foremost the easiest way to work is using variables that can help us, so let’s set them here:
 REM The name for the configuration
 SET HSM_NAME=yubikey_NF_NataS
 REM The Path to the root of the yubikey piv tool (Wherever you installed it).
 SET HSM_ROOT="C:\Program Files\Yubico\Yubico PIV Tool"
 REM The Path to the pkcs11 library
 SET PATH=%PATH%;%HSM_ROOT%\bin
 SET PKCS11_MODULE=%HSM_ROOT%\bin\libykcs11.dll
 REM The Path to pkcs11 OpenSC library (Wherever you installed it).
 SET OPENSC_MODULE="C:\Program Files\OpenSC Project\OpenSC\pkcs11\opensc-pkcs11.dll"
 REM The id of the key. As my Yubikey is Empty I'll use the ID1.
 SET HSM_ID1=01
 REM You can use RSA based or EC Based signatures. I'll use the EC ones
 SET RSA_ID=%HSM_NAME%%HSM_ID1%_rsa
 SET EC_ID=%HSM_NAME%%HSM_ID2%_ec
 REM The pins used when accessing the pkcs11 API. (If you have your Yubikey factory reset these are the PINs, otherwise use yours)
 SET HSM_SOPIN=010203040506070801020304050607080102030405060708
 SET HSM_PIN=123456
 SET HSM_DEST=%HSM_ROOT%\%HSM_NAME%
 SET HSM_LABEL=%HSM_NAME%-labelx`
 SET HSM_TOKENS_DIR=%HSM_DEST%\tokens\
 REM Make an alias for the pkcs11-tool to use the Yubikey module.
 doskey p="C:\Program Files\OpenSC Project\OpenSC\tools\pkcs11-tool.exe" --module "%PKCS11_MODULE%" $*
After we have configure our variables The following are the commands I ran, they’re commented so you can adjust to your own requirements.
 REM We're located in the same directory where ziti-tunnel.exe and the Yubikey identity generated on the previous steps has been dowload.
 REM We're initiating a new Token in our Yubikey.
 p --module "C:\Program Files\Yubico\Yubico PIV Tool\bin\libykcs11.dll" --init-token --label "ziti-natas-token" --so-pin %HSM_SOPIN%
 REM With the token initialized we're going to create a Key that will be used and linked to our Ziti Identity
 p -k --key-type EC:prime256v1 --usage-sign --usage-decrypt --login --id %HSM_ID1% --login-type so --so-pin %HSM_SOPIN% --label defaultkey
 REM using the ziti-tunnel we're going to enroll our identity and linked it to the Yubikey EC key we just created.
 .\ziti-tunnel.exe enroll -j ".\%JWT_DOWNLOADED%" -k "pkcs11://%OPENSC_MODULE%?id=%HSM_ID1%&pin=%HSM_PIN%" -v
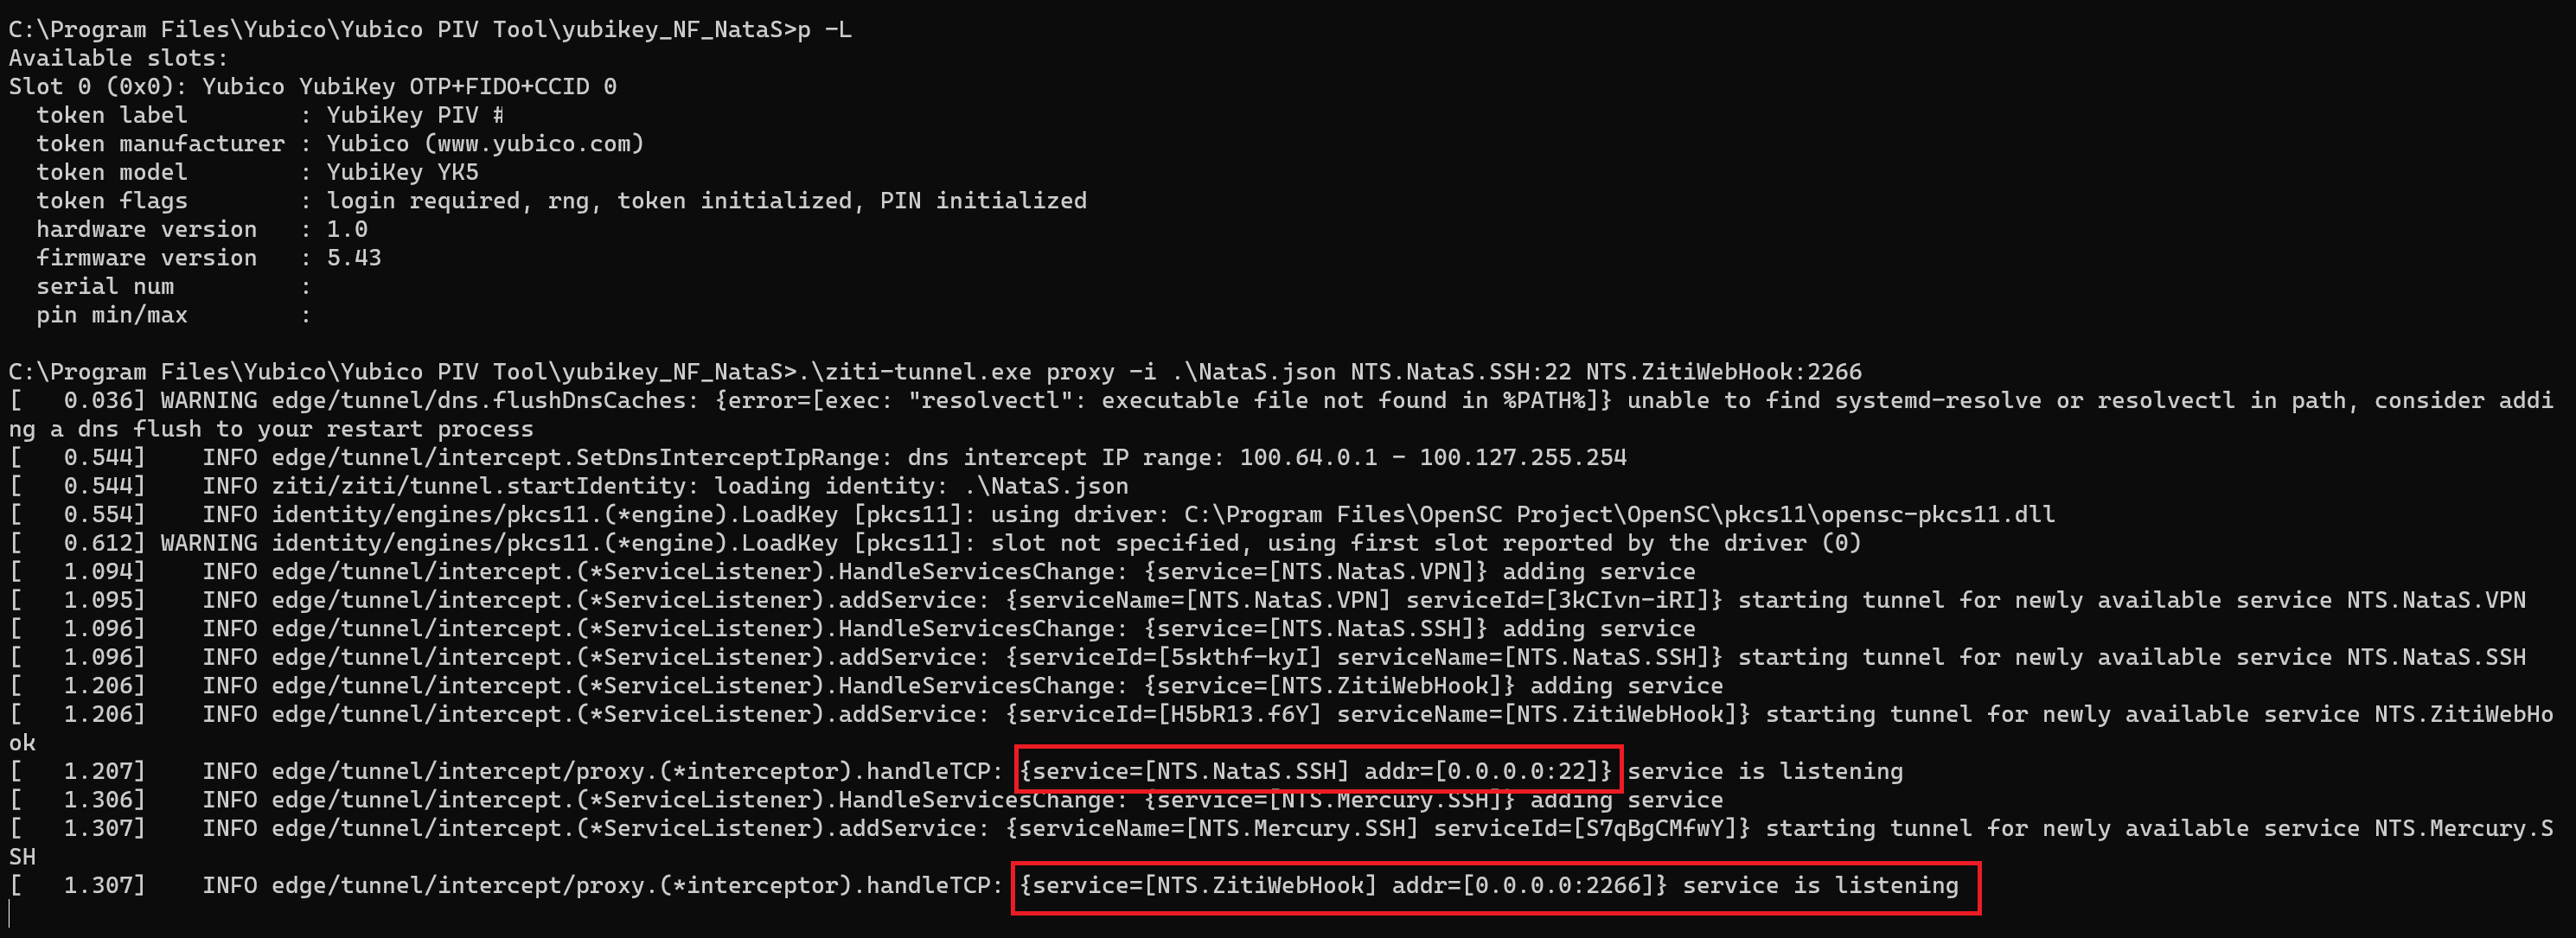
 REM finally using the proxy we start the tunnel. And see How we can access our services.
 .\ziti-tunnel.exe proxy -i %JSON_ENROLLED% %My_First_Service%:%MAPPED_PORT%

And as you can see if you don’t insert your yubikey while starting the tunnel it fails

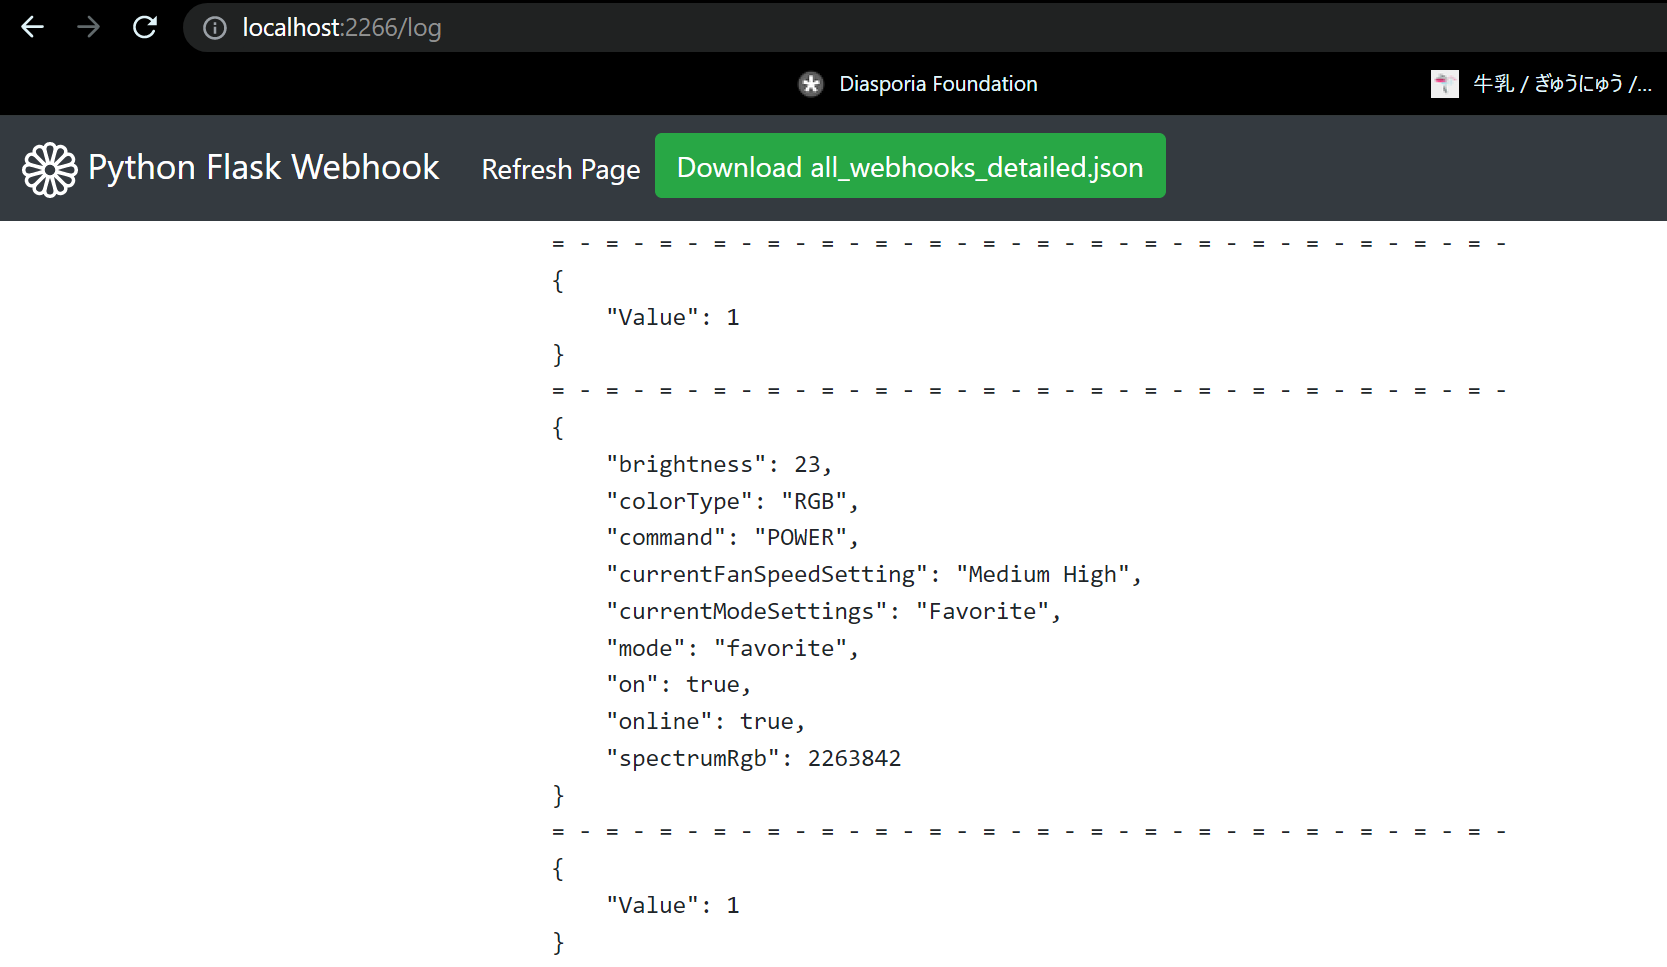
Only with the Key Inserted it will work and you’ll have access to your services.

Integrating CloudZiti and YubiKey provides organizations and individuals with a secure and user-friendly solution for secure and full zero trust network access. By combining the power of CloudZiti’s zero-trust security model with YubiKey’s OTP authentication, we all can significantly enhance the security of our network infrastructure while simplifying the authentication process for our endpoints.